

Hey there! As an outer flange supplier, I often get asked about the installation steps of outer flanges. So, let's dive right into it and break down the process in a way that's easy to understand.

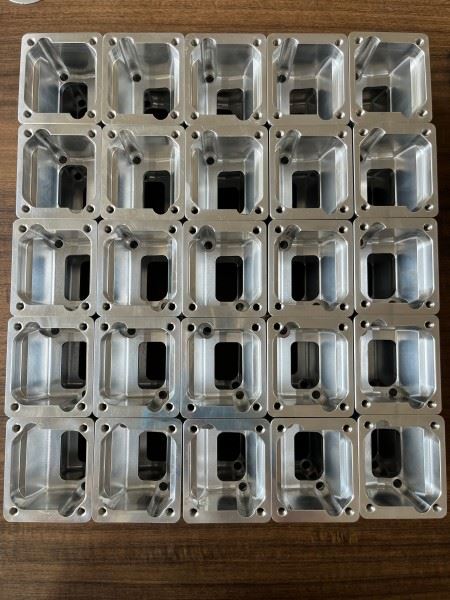
1. Preparation
First things first, you gotta get all your ducks in a row. Before you even think about installing the outer flange, make sure you have everything you need. This includes the outer flange itself, of course, but also the right tools. You'll typically need a wrench or a socket set, depending on the type of bolts used. Don't forget the gaskets either. These are super important as they help create a tight seal and prevent leaks.
Check the flange and the mating surface for any damage, scratches, or dirt. If there's any debris on the surface, clean it off using a wire brush or a suitable cleaning agent. A clean surface ensures a better fit and a more reliable connection.
Also, it's a good idea to measure the flange and the mating surface to make sure they're the right size and match each other. You don't want to get halfway through the installation only to find out that they don't fit properly.
2. Positioning the Outer Flange
Once you've got everything prepped, it's time to position the outer flange. This is where you need to be really careful and take your time. Place the flange on the mating surface, lining up the bolt holes. You might need to use a alignment tool or a pry bar to get everything in place if it's a bit tricky.
Make sure the flange is sitting flat and evenly on the surface. Any misalignment can cause problems later on, like leaks or uneven stress on the bolts. If you're working with a large flange, you might need an extra set of hands to help you hold it in place.
3. Inserting the Bolts
After the flange is in the right position, it's time to insert the bolts. Start by inserting the bolts through the holes in the flange and the mating surface. Don't tighten them all the way just yet. You should insert all the bolts first and then start tightening them gradually. This helps ensure that the flange is evenly compressed and that there's no uneven stress on the bolts.
When tightening the bolts, use a criss - cross pattern. This means that you tighten one bolt, then the one directly across from it, and so on. This helps distribute the pressure evenly and prevents the flange from warping. You can use a torque wrench to tighten the bolts to the recommended torque value. This information can usually be found in the product specifications.
4. Installing the Gasket
Now, let's talk about the gasket. The gasket goes between the outer flange and the mating surface. Carefully place the gasket on the mating surface, making sure it lines up with the bolt holes and the flange. The gasket should fit snugly and cover the entire sealing area.
Once the gasket is in place, you can start tightening the bolts again. As you tighten the bolts, the gasket will compress and create a seal. Make sure not to overtighten the bolts, though, as this can damage the gasket and cause leaks.
5. Final Checks
After you've tightened all the bolts, it's time to do a final check. Look for any signs of misalignment or uneven tightening. You can use a feeler gauge to check the gap between the flange and the mating surface around the perimeter. If the gap is uneven, you might need to loosen the bolts and readjust the flange.
Also, check for any visible damage to the flange or the gasket. If you notice any cracks or tears, you should replace the damaged parts before proceeding.
Once you're satisfied with the installation, you're almost done. But before you start using the equipment, it's a good idea to test the connection. You can do this by applying a small amount of pressure or running a test operation. If everything looks good, then you're all set!
Our Other Services
As an outer flange supplier, we don't just stop at providing high - quality outer flanges. We also offer a range of other services. For those looking for Non-standard, Customized Automotive Parts, we've got you covered. Our team can work with you to create parts that meet your specific requirements.
We also provide Metal Bending Service. Whether you need simple bends or complex shapes, our experts have the skills and equipment to get the job done.
If you're in the market for a Customizable Volume Grinding Container, we can produce one for you. Our containers are made to order, so you can get exactly what you need for your grinding operations.
Our Professional CNC Precision Machining Services are top - notch. We use the latest technology to ensure high precision and quality in all our machining projects.
And don't forget about our Non-standard Cutter Head. If you need a cutter head that's not available off - the - shelf, we can design and manufacture one for you.
Let's Talk Business!
If you're interested in our outer flanges or any of the other services I've mentioned, we'd love to hear from you. Whether you're a small business or a large corporation, we have the products and services to meet your needs. So, don't hesitate to reach out and start a conversation. We're here to help you find the best solutions for your projects.
References
- "Mechanical Engineering Handbook" - A comprehensive reference for mechanical installation processes.
- Product manuals from leading outer flange manufacturers, which provide detailed installation guidelines.